a briEf History of photography
The earliest idea of photography was during the renaissance with the search for realism. Artists such as Leonardo Da Vinci were interested in capturing things such as anatomical drawings of humans and animals but on a canvas not in photograph form. Later on artists used tools to bring them selves even closer to capturing realism the main tool used was something called a camera obscura which was a dark room with a small hole in the wall which projected the image outside onto the opposite wall which the artist would use as a guide for their paintings. There was also a piece of technology called the camera lucida which used a prism to help an artist see what was directly in front of them while looking down.
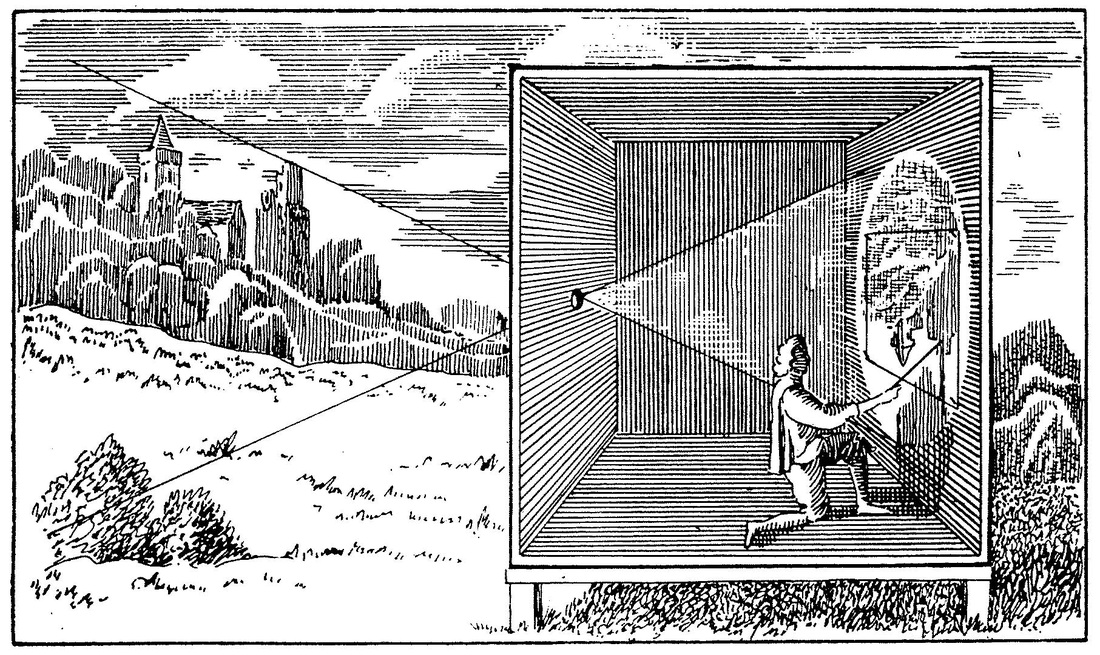
An example of the camera obscura
But after the camera obscura people were still trying to find a way of creating the correct chemical combination to fix an image similar to the camera obscura so that it stayed on the material it was projected on. In 1827 Joseph Niépce captured an image of the view from his window in Paris, after this there was a race between the british and french to be the first to create a reusable image capturing device. And in 1839 Jaques Daguerre created the Daguerrotype, shortly after this the British William Henry Fox Talbot developed the calotype which although created lower quality images than the Daguerrotype, the images were reproducible unlike the aforementioned device. Since then photography has developed dramatically and as the quality of images created improved the themes of photographers photos expanded turning photography into the art form that it is today.
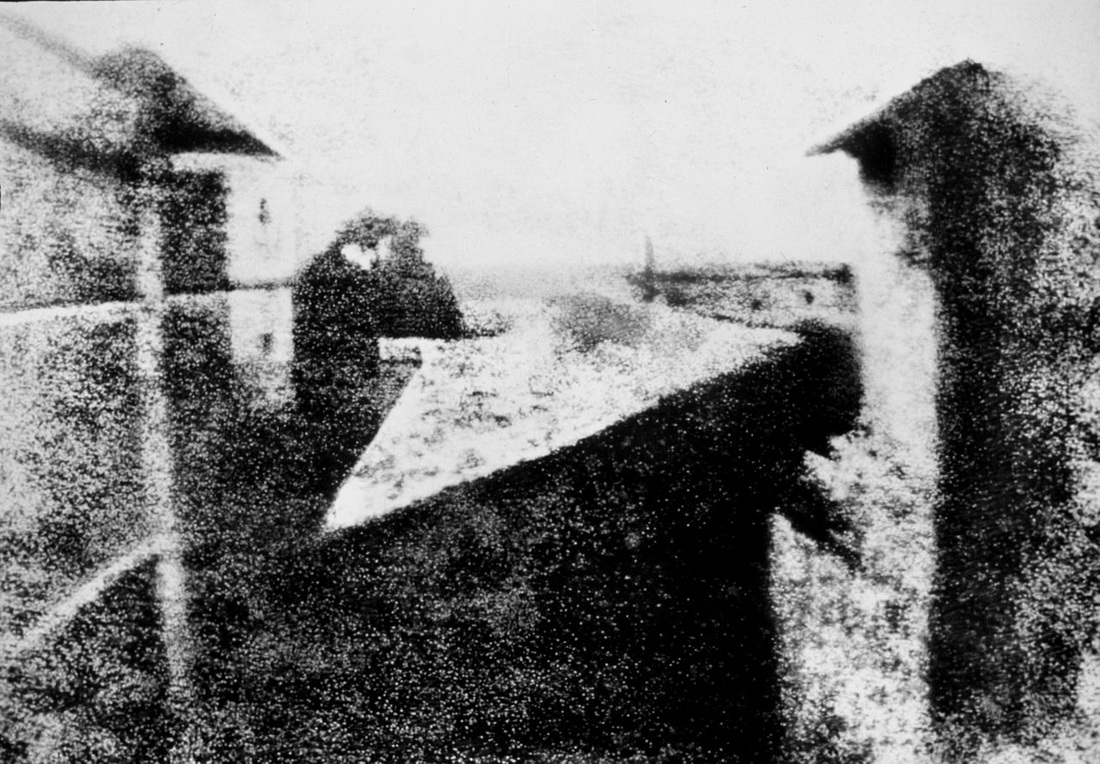
Joseph Niépce's view from his window
Camera obscura
|
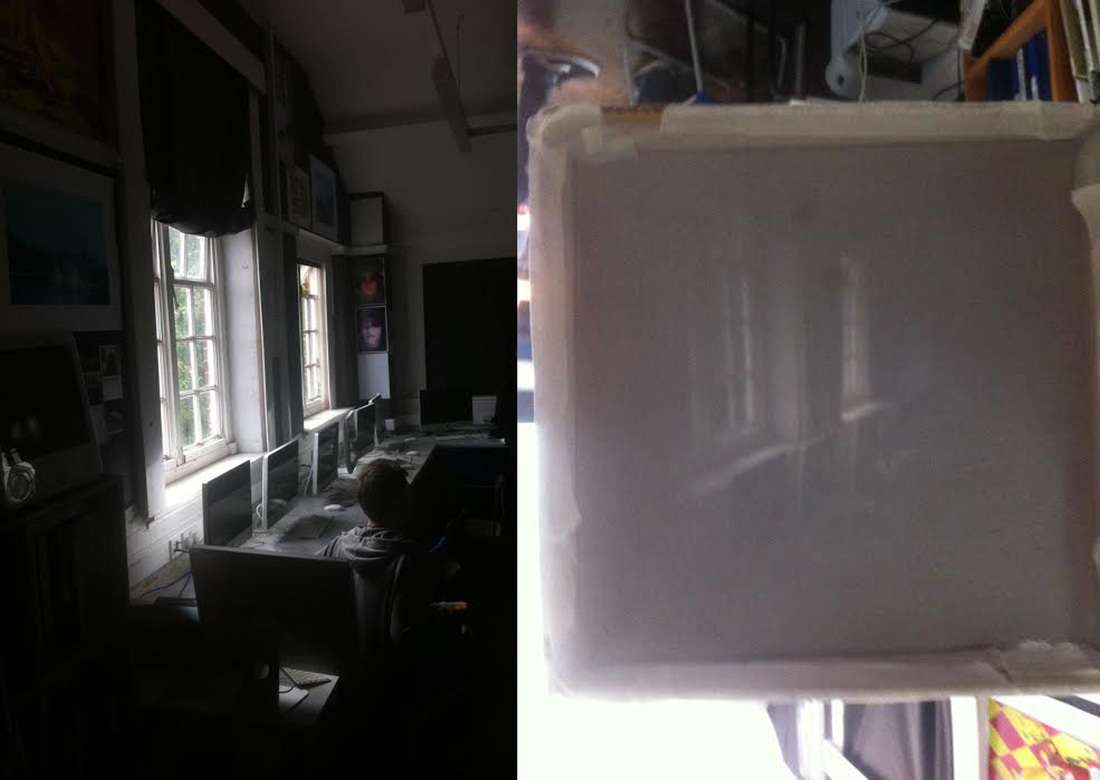
To understand fully how the camera obscura worked I created one using a cardboard box, a lens and some tracing paper. I put masking tape over the cracks in the box to make sure no light got into the 'camera'. I then cut a hole in the front of the box about the size of a five pence piece, after that I taped a lens over the hole. So that I could see the image created I put tracing paper on the inside of the box, moving it around so that the focal length was correct.
|

My camera obscura
As you can see the quality of the images produced by my camera obscura were not very crisp, something I would change is the hole at the front so that the light came into the camera in better quality.
|
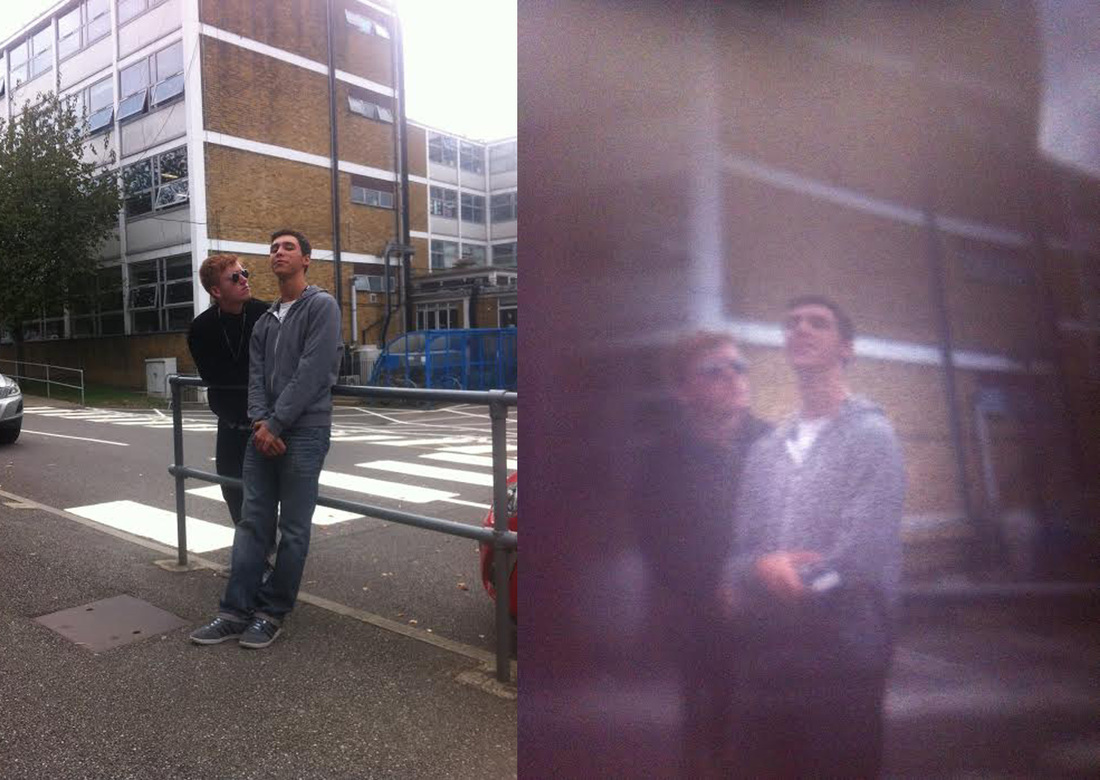
Here are some examples of the images I obtained using my camera obscura.
|
|
Photograms
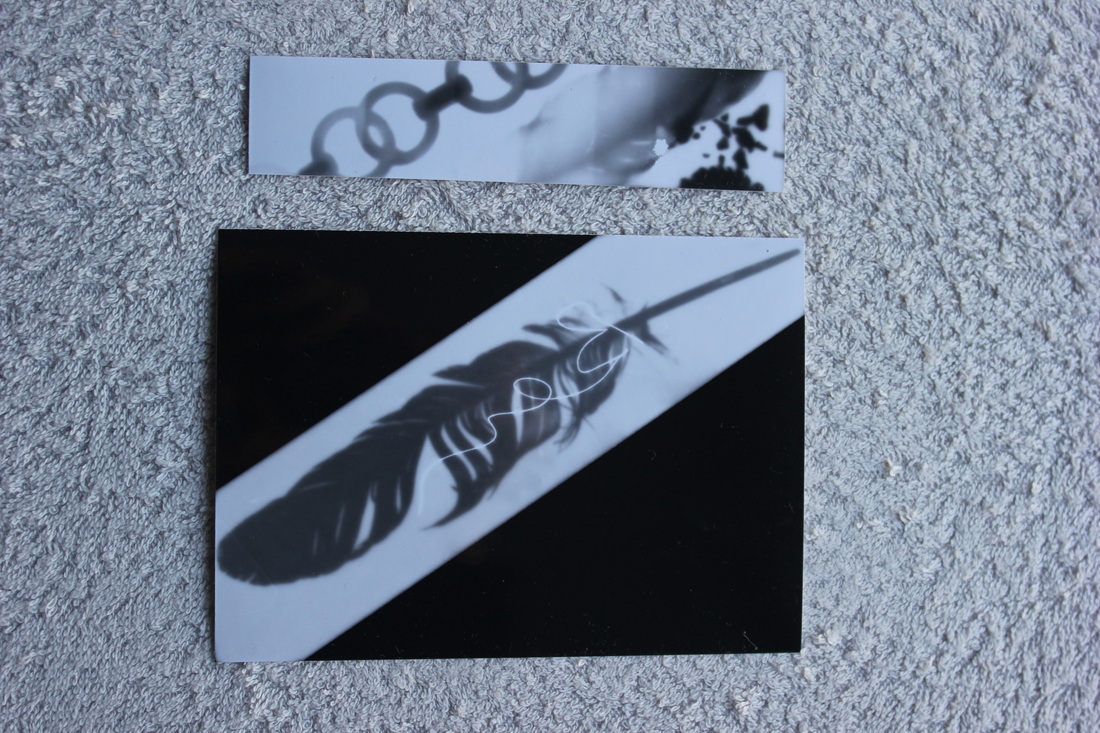
Using the enlargers in the dark room I created some photograms by putting photographic paper underneath the enlarger and putting different objects on top of the paper to block the light when I turned on the enlarger, creating light shapes on the paper, depending on the objects translucency they created light or dark shapes on the photographic paper. To make these shapes appear I put the paper in three different chemicals, the developer, to bring the image onto the paper, the stop, to stop the paper developing, and the fix to fix the image in place so that when I took the paper out of the darkroom it did not react with the white light and turn completely black. After I put the paper through all the chemicals I quickly rinsed it in water and then put it through the dyer to dry it. Here are some examples of my photograms.


I also created a test strip to determine how many seconds I should expose the photographic paper to the light for.
Man ray


|
An artist who is famous for making photograms is Man Ray, famously called Ray-o-grams his images were similar to mine in the way that he used everyday objects to create interesting forms on the photographic paper. As you can see in the top right of one of his photograms here he uses a similar object to me in my bottom left picture above, this is a 3d object which is in some way squashed onto the 2d surface of the image creating a very interesting affect.
|
Photograms continued
Expanding on the theme of photograms we started to experiment with the processes used to create a different final effect. The first we used was the idea of the sandwich print which involved placing one ready-made photogram face down on top of a piece of photographic paper to turn the negative image of the photogram into a positive one, this does this because when the photographic paper is exposed to white light, all of the silver nitrate particles disperse from the light affected area whereas where the light was obstructed by an object the particles bunch up. This means that when light is put through the photogram, light passes through the black area, creating a positive image. Here is my example of the sandwich print with my sandwich print test strip.
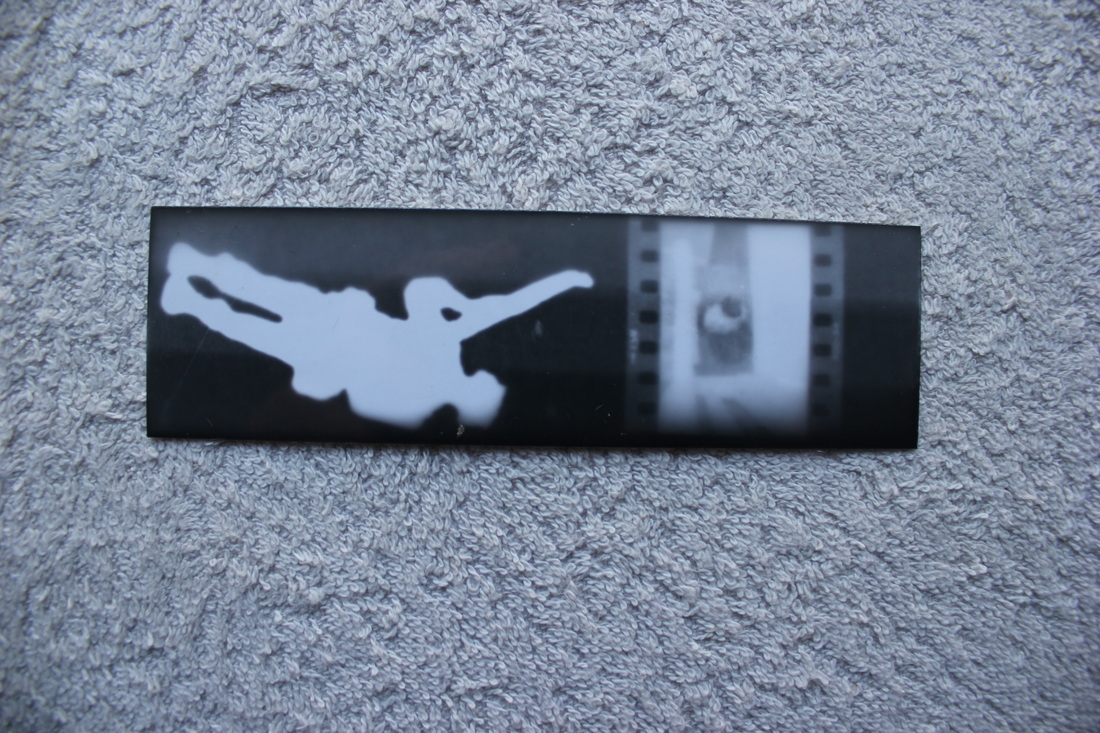
What we also did was cut out silhouettes of ourselves and experiment using these by placing them in front of photographic paper in the darkroom to create interesting photograms, here are some of my examples.
The final technique we used was solarisation, this is when you expose an image for a few seconds, then put it into the developer chemical until you start to see the image appearing then put the image back under the light which should create an affect such as this.

|

However the best image I got was this sadly
|
Pinhole camera

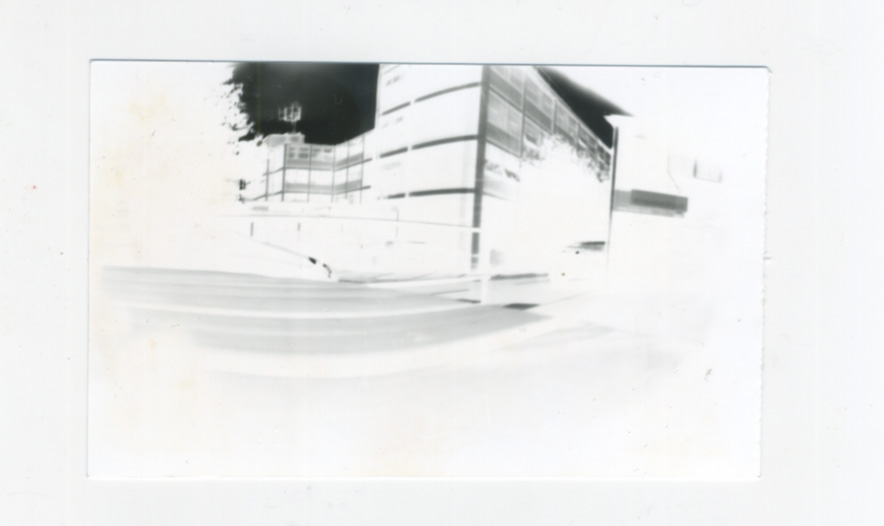
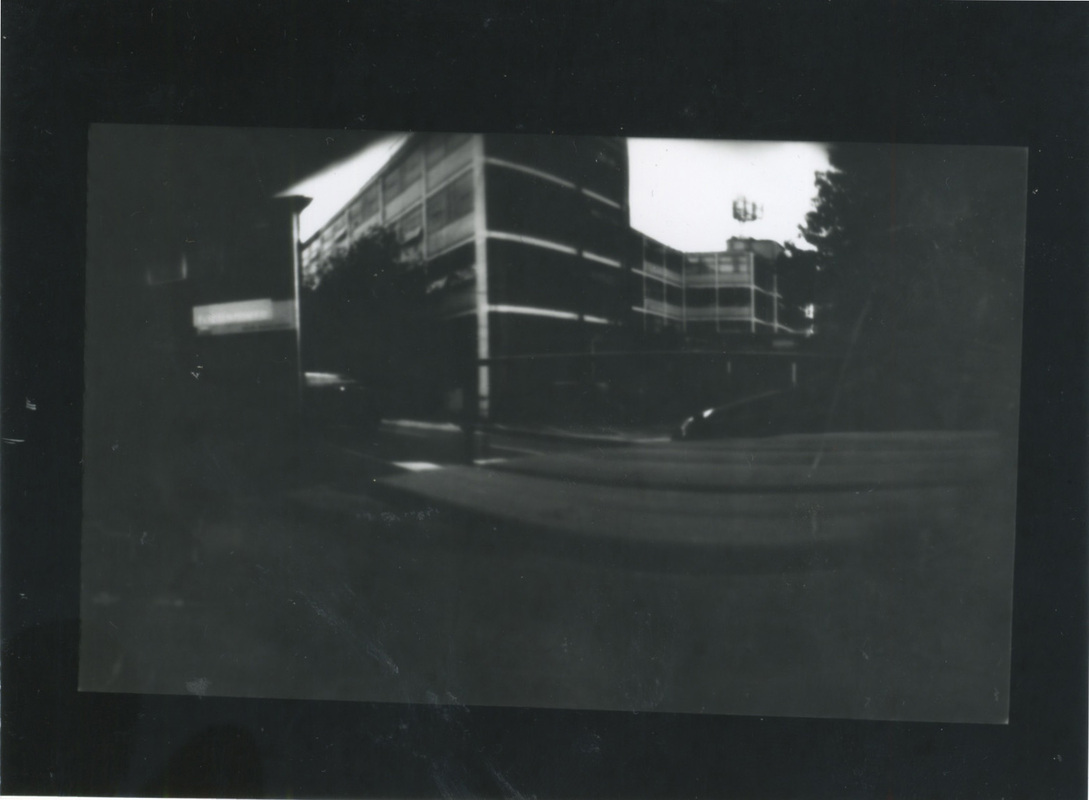
Earlier on we created a camera obscura to create images on some tracing paper, using a pringle box wrapped in duct tape with a small hole at the front we created a pinhole camera. After loading photographic paper into the box opposite to the pinhole I took the box outside, placed it on a stable surface, opened the front flap for around 5 seconds then closed it. Then in the dark room I took the photographic paper out of the camera and put it through the chemicals. It came out as a negative so I used the technique of sandwich printing I learnt before to create a positive image. Here are my results:
shutter speed and APERTURE
In this task I experimented with the shutter speed and the aperture on my digital camera. For the shutter speed I captures people jumping off things and when I wanted a sharp image I put it at a very high shutter speed, around 1/1000 of a second, and when I wanted a blurry image I put it at around 1/25 of a second.

1/1000
|

1/25
|
Depth of field
The depth of field is the distance between the nearest and furthest objects in a scene that seem to be in focus. You can change the depth of field by increasing or decreasing the aperture, this is true in the way that the higher the aperture, the greater the depth of field. Here I used toys to demonstrate the depth of field of a camera. I used 3 f-stops; f.4.5, f.15,f.29.
analysing photography
Throughout the course I will need to not only talk about different artists photographs, but also my own. This means that when looking at an image I will need to think about the following things; the context of the image, the process that the photographer went through to get the final image and the content of the image itself as well as the 'mise en scene', which is describing the image in as much detail as possible, drawing out the small details or techniques you wouldn't otherwise see.
